
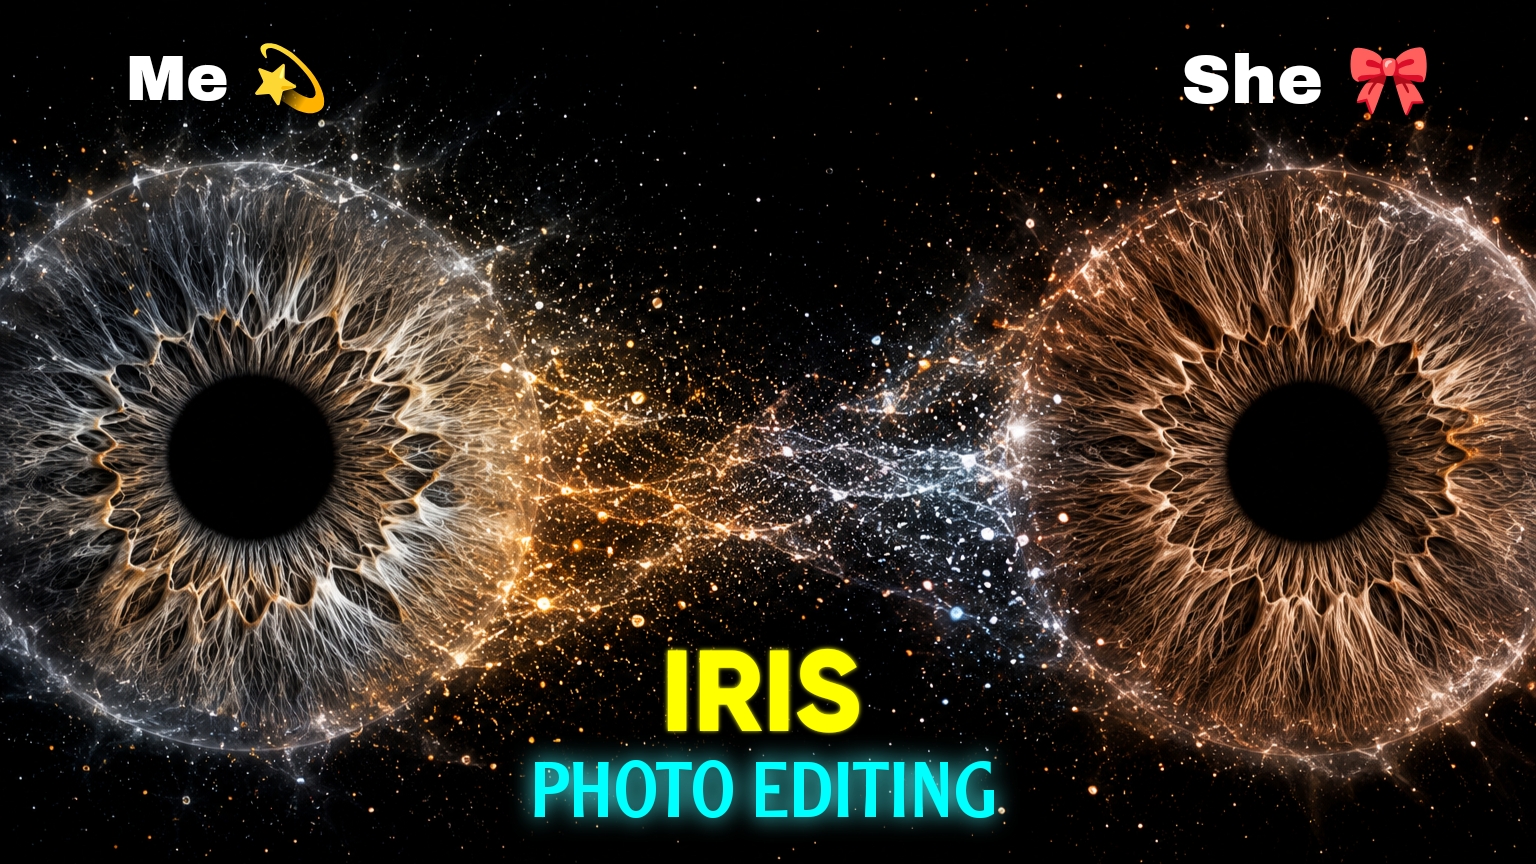
Couple Iris Ai photo editing
Hello friends, how are you all? I hope you are doing very well. If you use social media, you have likely noticed the recent trend of AI-based photo editing. AI photo editing has become incredibly popular among people, especially on platforms like Instagram, Facebook, and YouTube. While various types of AI photo editing are going viral on these platforms, the “Couple Iris AI” edit is currently the most trending one. Couples are increasingly using AI to create these specific types of images. The process involves cropping photos of their eyes and using AI—along with a specific prompt—to generate the final result. These images feature enlarged irises enhanced with various effects, lighting, and color adjustments. People love this style of editing, which is why it has gone viral. If you want to create these kinds of photos, make sure to read this entire article carefully from start to finish without skipping anything. You will gain a clear understanding of exactly what to do—and what to avoid—to achieve the best results. So, let’s get started with today’s article.
What is Couple Iris Ai photo editing ?
Among the various AI photo editing trends currently going viral on social media platforms, the Couple Iris Ai photo editing stands out as a particularly unique style for couples. Couples are increasingly using AI to create these images; they do this by cropping close-up shots of one eye from each partner and feeding them into the AI tool along with a specific prompt. The AI then generates beautiful composite images featuring their irises. The resulting visuals create the impression that the two irises were once touching but are now gently drifting apart. The irises are set against a black background and surrounded by particle effects that resemble stars in the cosmos. This entire visual composition evokes a special sense of romance and connection, making the trend highly appealing to couples.
To create this Couple Iris Ai photo editing , here is what you will need:
1. A photo –
To create these Iris photo edits, you will first need the photos you wish to use for the edit. Since this style is trending among couples, you can use photos of your own eyes and your partner’s eyes to create them.
2. A prompt –
The most crucial element for this type of photo editing is the prompt itself. You can write the prompt yourself; however, if you do, make sure to include specific details so the AI clearly understands what you want it to generate. I have provided a ready-to-use, detailed prompt below that explains exactly what to do; using this will ensure excellent results for your photos.
THE PROMPT 👇
Create an artistic 4K composition using the
 irises from the uploaded image. Enlarge each
iris and place one on the left and the other
 on the right against a pure black background.
 Connect them with a flowing trail of glowing
 particles, cosmic dust, and tiny light fragments
 to create a smooth energy transition or
 explosion effect. Enhance the intricate
iris fibers, rich colors, and realistic textures
 with crisp details. Add subtle depth, soft
lighting, and a futuristic space-inspired
 atmosphere for a dramatic, ultra-sharp, and
 visually captivating result.
3. An AI app or website –
You will need an AI app or website to perform this photo editing. While you can use any AI tool, the two most popular ones currently used for this purpose are ChatGPT AI and Gemini AI. You can use either of these to create your photo edits. I suggest trying both and choosing the one that yields the best results for you.
How can you create this “Couple Iris” AI photo edit?
To create this edit, first copy the prompt I have provided above. Once you have copied the prompt, open an AI app or website on your phone. Next, crop the eye area from the photos of both you and your partner. After cropping, upload these eye images to the AI tool. Then, paste the prompt you copied from my website and click the “Send” or “Generate” button; your edited photo will be ready shortly. By following these simple steps, you can easily create this edit.
Why are these “Couple Iris AI” photo edits currently so popular?
There are several reasons behind their popularity; these types of photos have gone viral on social media. It is an excellent editing style for couples, who are increasingly creating these kinds of images. Creating them requires very little effort. In the past, producing such creative edits required a desktop computer and hours of painstaking work in Photoshop—often without achieving the desired result. With the advent of AI, however, creating these edits has become incredibly easy. People no longer have to struggle to generate these images; by simply providing their own photos to the AI along with a detailed prompt, they can create these edits with just a single click. Moreover, it takes very little time—the AI edits the photos to perfection in just a few seconds.
Features of Couple Iris AI Photo Editing
Some notable features of this style include—
It contains-
Full HD or 4K quality
Highly detailed iris texture
Cinematic color grading
Black background
Glowing particles
Cosmic dust particles
Energy light effect
Realistic lighting
Premium digital art finish
OVERALL –
Friends, various types of trending photo editing styles are currently going viral on social media. Among them, AI photo editing has become the most popular trend. Using AI, people can create stunning, flawless photos with just a single click and in very little time—simply by using a standard photo and a detailed prompt. When these images are posted or shared as stories on social media platforms, they garner a huge number of likes, comments, and shares. One such trending topic right now is “Couple Iris AI photo editing.” Couples are frequently creating these types of images using AI. Elements like the intricate texture of the iris, cosmic particles, glowing energy, and cinematic backgrounds really capture people’s attention. If you have a partner, you can try creating these edits as well. I hope I have explained this clearly; please let me know in the comments what you thought of this tutorial. That’s all for today’s article—see you in the next one. Stay well and healthy.
