
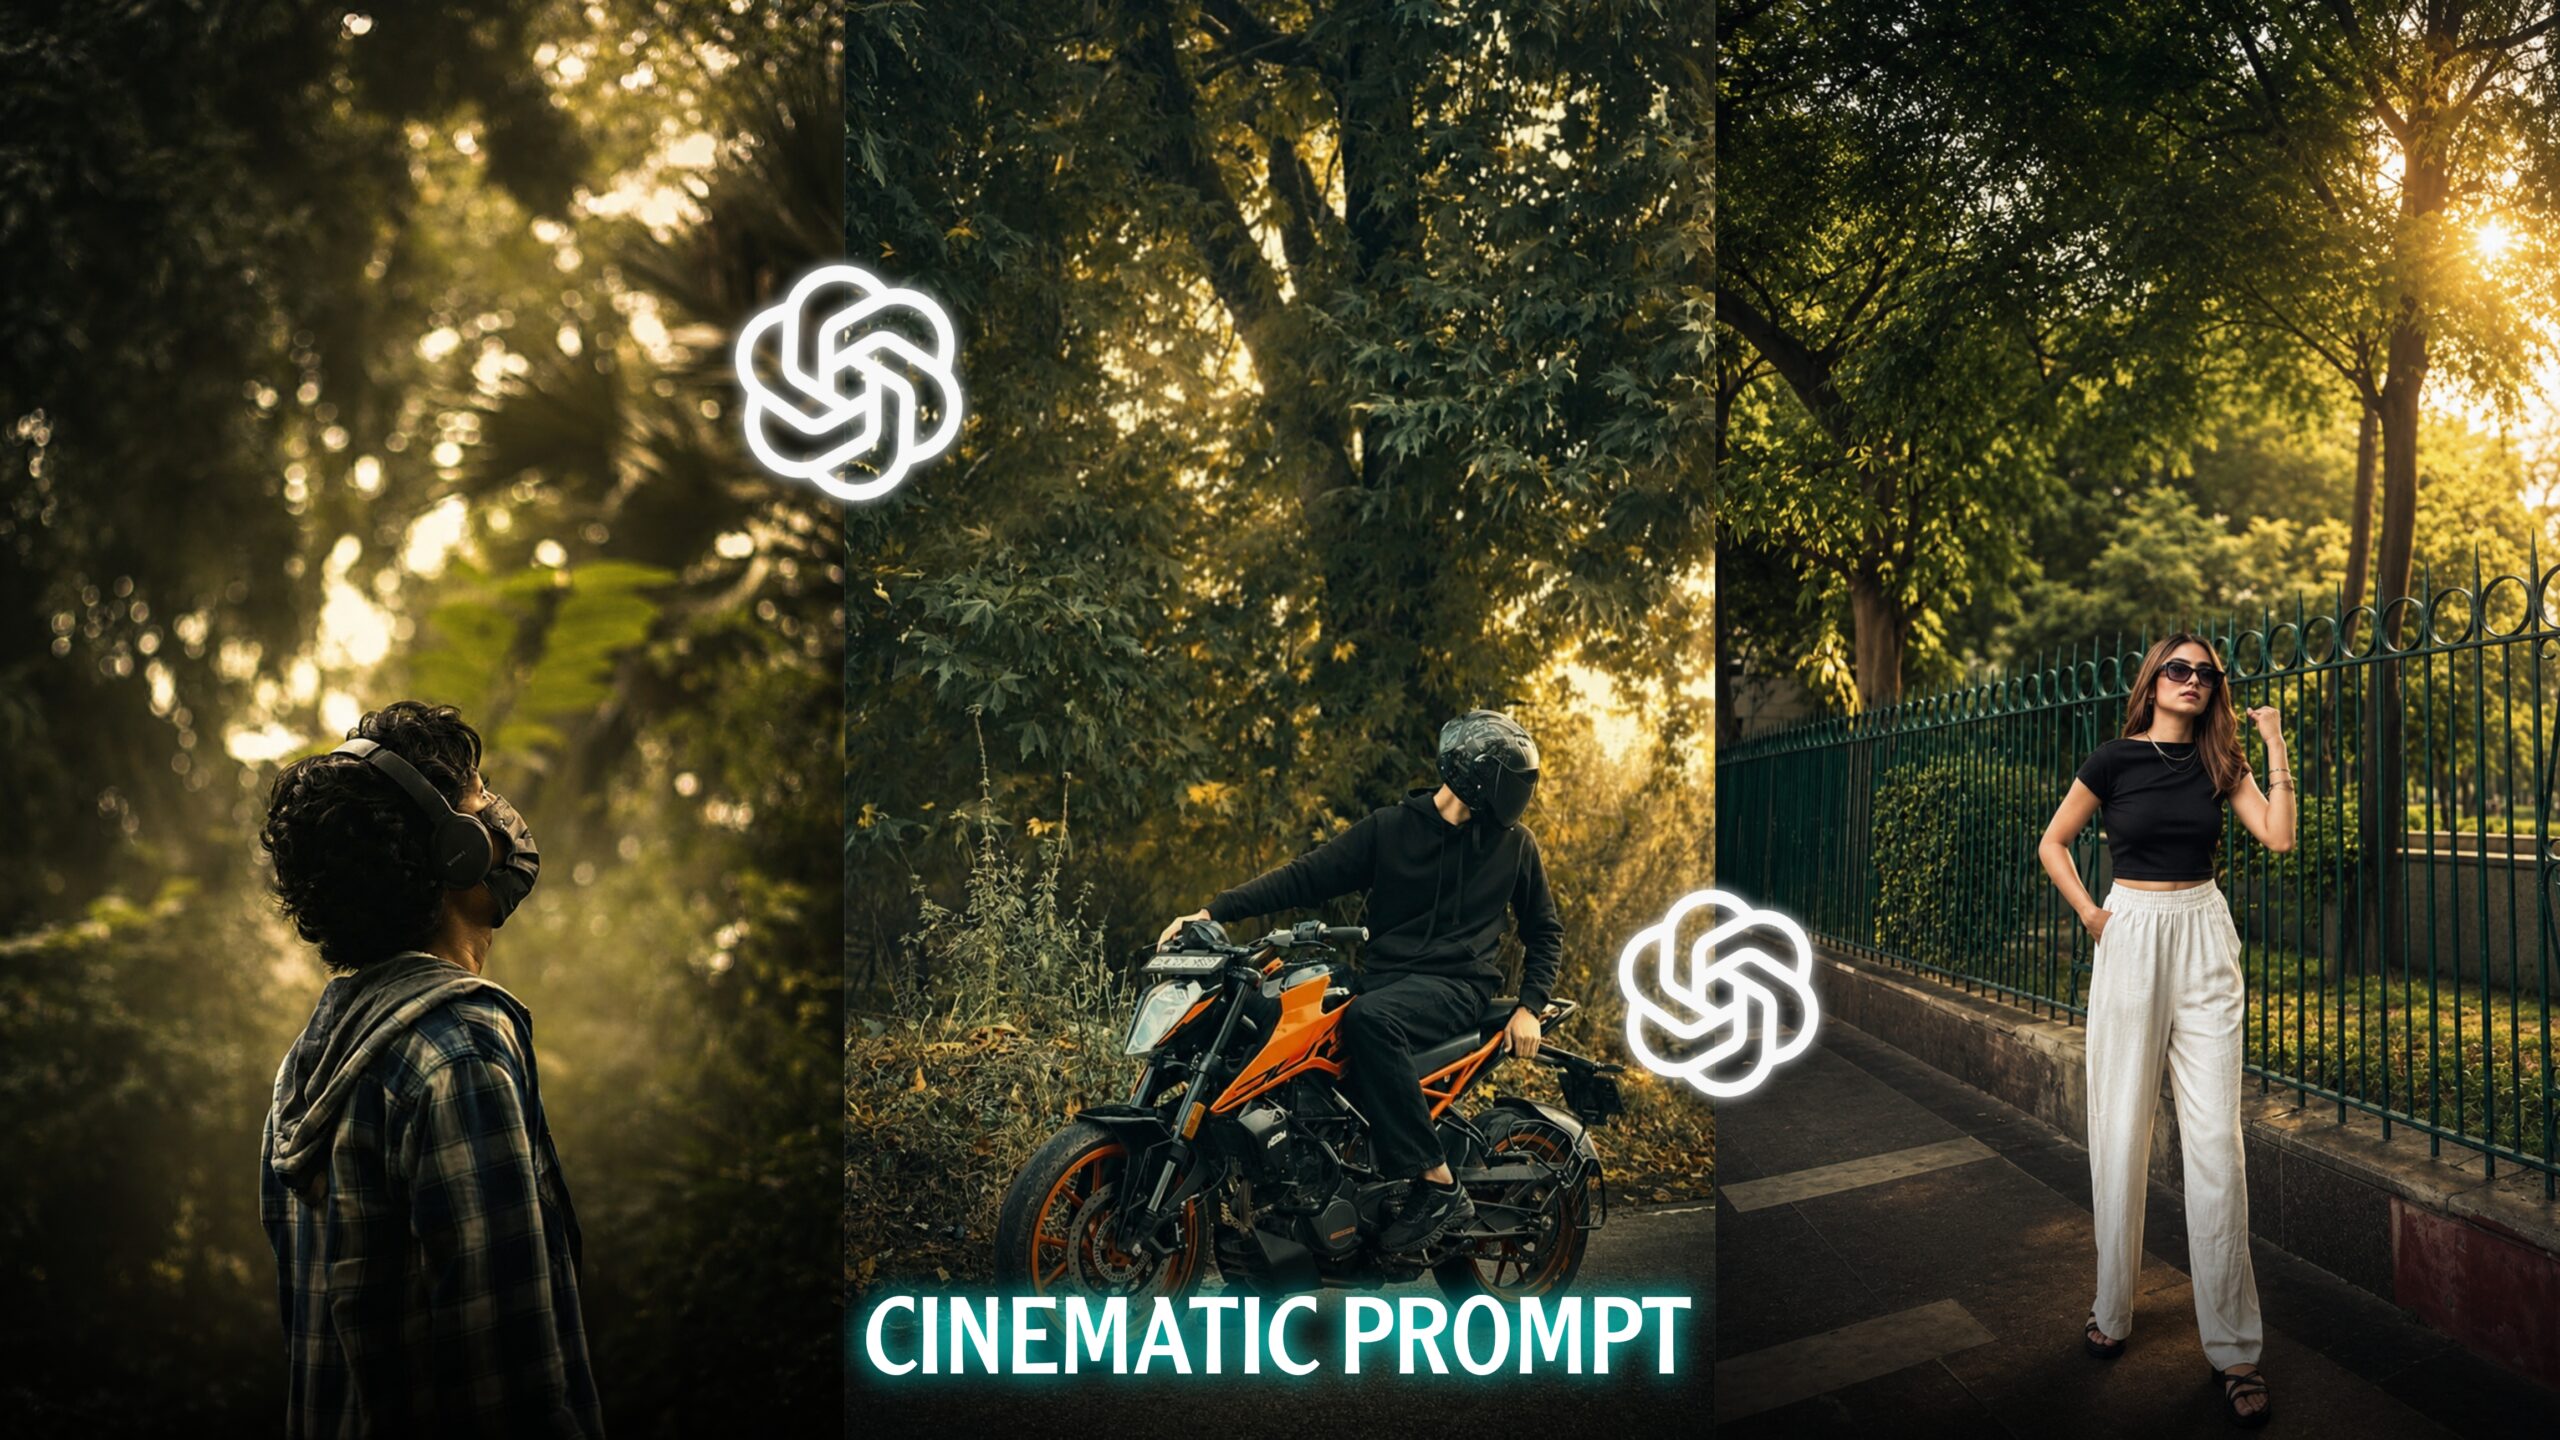
Olive green tone Ai photo editing
Hello friends, I am back with another new article. In today’s post, I will teach you how to edit a standard photo into an “Olive Green Tone” style using AI. The process of photo editing has evolved significantly and improved greatly over time. Previously, editing photos manually using apps was time-consuming, and the results often didn’t quite meet expectations. However, now that people have learned to utilize AI, photo editing has become incredibly easy and efficient, allowing you to achieve excellent results in very little time. The biggest advantage of AI photo editing is the speed and the fantastic quality of the final image; I personally use AI for my own photo editing and get great feedback. AI editing tricks have become hugely popular across social media platforms like Instagram, Facebook, YouTube, and Snapchat. Creators of all levels are generating AI-enhanced photos with just a single click and posting them to their profiles, where they often go viral. As these posts reach a wide audience, more people are eager to try this style of editing, making AI-generated photo edits a major trend. One of the standout trends right now is “Olive Green Tone” AI photo editing. If you are looking for a trending AI editing style to try, this could be the perfect choice for you. To learn this technique, make sure to read this article carefully from start to finish—you’ll find it very easy to master. So, let’s get started with today’s article.
What is today editing?
Friends, the “Olive Green Tone” AI photo editing style is currently one of the most popular trends; once you learn it, you can transform an ordinary photo into an olive-green-toned masterpiece with just a single click and in mere seconds using AI. Among the various color grading styles seen on social media, this is one of the best; applying it makes your photos look incredibly attractive and professional. This style typically incorporates a DSLR-like background blur effect; if you apply this editing to a photo taken with a standard smartphone, it will gain that professional DSLR blur. Furthermore, if your photo features a natural background—such as trees, foliage, or grass—the AI beautifully converts those elements into an olive green tone, creating a stunning visual. It also applies a lovely golden hue to the background, lending your photo a unique, cinematic vibe. The style carries a slightly dark, moody aesthetic that gives your images a professional and premium look. Additionally, the lighting and color adjustments are finely tuned, allowing you to transform even a low-quality photo into a Full HD-quality image using AI. You will achieve the best results with this style if you shoot against a natural background, as these color tones complement natural settings perfectly.
Why has this Olive green photo editing become so popular lately?
The reason for the popularity of this style of photo editing is that it avoids heavy color saturation, opting instead for softer, lighter tones that are pleasing and soothing to the eye. Creating these photos doesn’t take much time; as I mentioned earlier, AI has made this type of editing incredibly easy. If you have a standard photo taken somewhere and want to edit it, you can now achieve this specific look with just a single click using AI. This style of editing is currently trending heavily on social media. People who edit their photos this way and post them on various social media platforms are receiving a huge number of likes, comments, and shares. If you create and post such an edited photo on your social media profiles, there is a very high chance it could go viral. Since these edits rely on soft hues rather than harsh, dark colors, viewing them for extended periods causes no eye strain. Beyond these factors, there are several other reasons why this style of photo editing has become so popular among people today.
Here are some tips for creating this Olive green tone Ai photo editing :
1. Shooting your photo –
To create this type of edit, you first need a photo—which you can capture using either your smartphone or a DSLR camera. If you are using your phone, make sure to shoot with the rear camera rather than the selfie camera. When using the rear camera, you can ask someone to help you take the shot or use a tripod if you have one.
2. Which background works best?
Since this style of photo editing has a natural look, I suggest shooting outdoors rather than indoors. Choose a location with some greenery; it doesn’t need to be a dense forest, but having some plants or foliage in the frame is essential. Alternatively, if you don’t want to shoot amidst trees or bushes, a grassy background works well too. This allows the AI to effectively apply the tone to the green foliage in the background. Also, try to frame your shot so that a bit of the sky is visible. The natural light from the sky will make your photo look even more attractive.
3. Use a good prompt –
Since you will be creating these types of photo edits using AI, you need to use a prompt. A prompt is essentially the instruction that tells the AI how the photo edit should look. The more detailed and clear your prompt is regarding what you want to achieve, the better the results will be. You can write the prompt in your own language; there is no requirement to use any specific language. You can write the prompt yourself if you wish. However, if you prefer not to write one, I am providing a ready-to-use prompt below specifically for this “Olive Green Tone” AI photo editing style that you can use.
THE PROMPT 👇
Preserve the original photo exactly.
 Do not change the subject, bike,
 pose, composition, background,
or camera angle. Apply premium
cinematic Lightroom color grading
with deep emerald and olive green
 tones, warm golden sunrise light,
 soft volumetric sun rays, realistic
 morning mist, cinematic haze, soft
 bloom, matte shadows, warm highlights,
 natural HDR, rich contrast, earthy
colors, subtle glow, fine film grain,
DSLR shallow depth of field, soft vignette,
crisp details, realistic textures, premium
forest mood, ultra-realistic, moody, dreamy,
8K professional photography, natural light,
 high-end cinematic finish.
How can you create this Olive green tone Ai photo editing ?
To get started, first open the ChatGPT app or website on your phone. You can find the ChatGPT app on the Play Store or App Store, or simply access the website via any browser. If you are visiting for the first time, you will need to sign up using an email address from your device. Once signed up, upload the photo you wish to edit to ChatGPT. Then, copy the prompt I provided earlier and paste it below the photo. Click the “Send” or “Generate” button, and your edited photo will be ready in moments. Finally, to save the edited photo, tap on it to reveal the save option, then click that option to save the image to your gallery. By following these simple steps, you can transform an ordinary photo into a professional-looking image with an olive-green tone.
Overall—
Currently, various photo editing styles are trending on social media, and one of the best among them is the “Olive Green Tone” AI photo editing style. Applying this style to an ordinary photo makes it look incredibly professional and premium, as it incorporates cinematic color effects, lighting enhancements, and color grading. You don’t need to put in much effort to create these edits; using just a single AI prompt, you can transform your photos with a single click in a matter of seconds. Creators of all levels—from beginners to established influencers—are using AI to create these edits for their profiles, and the results are going viral. If you create and post these types of photos on your social media accounts, there is a very high chance that your photos will go viral too. So, friends, that’s all for today’s article—see you in the next one.
