
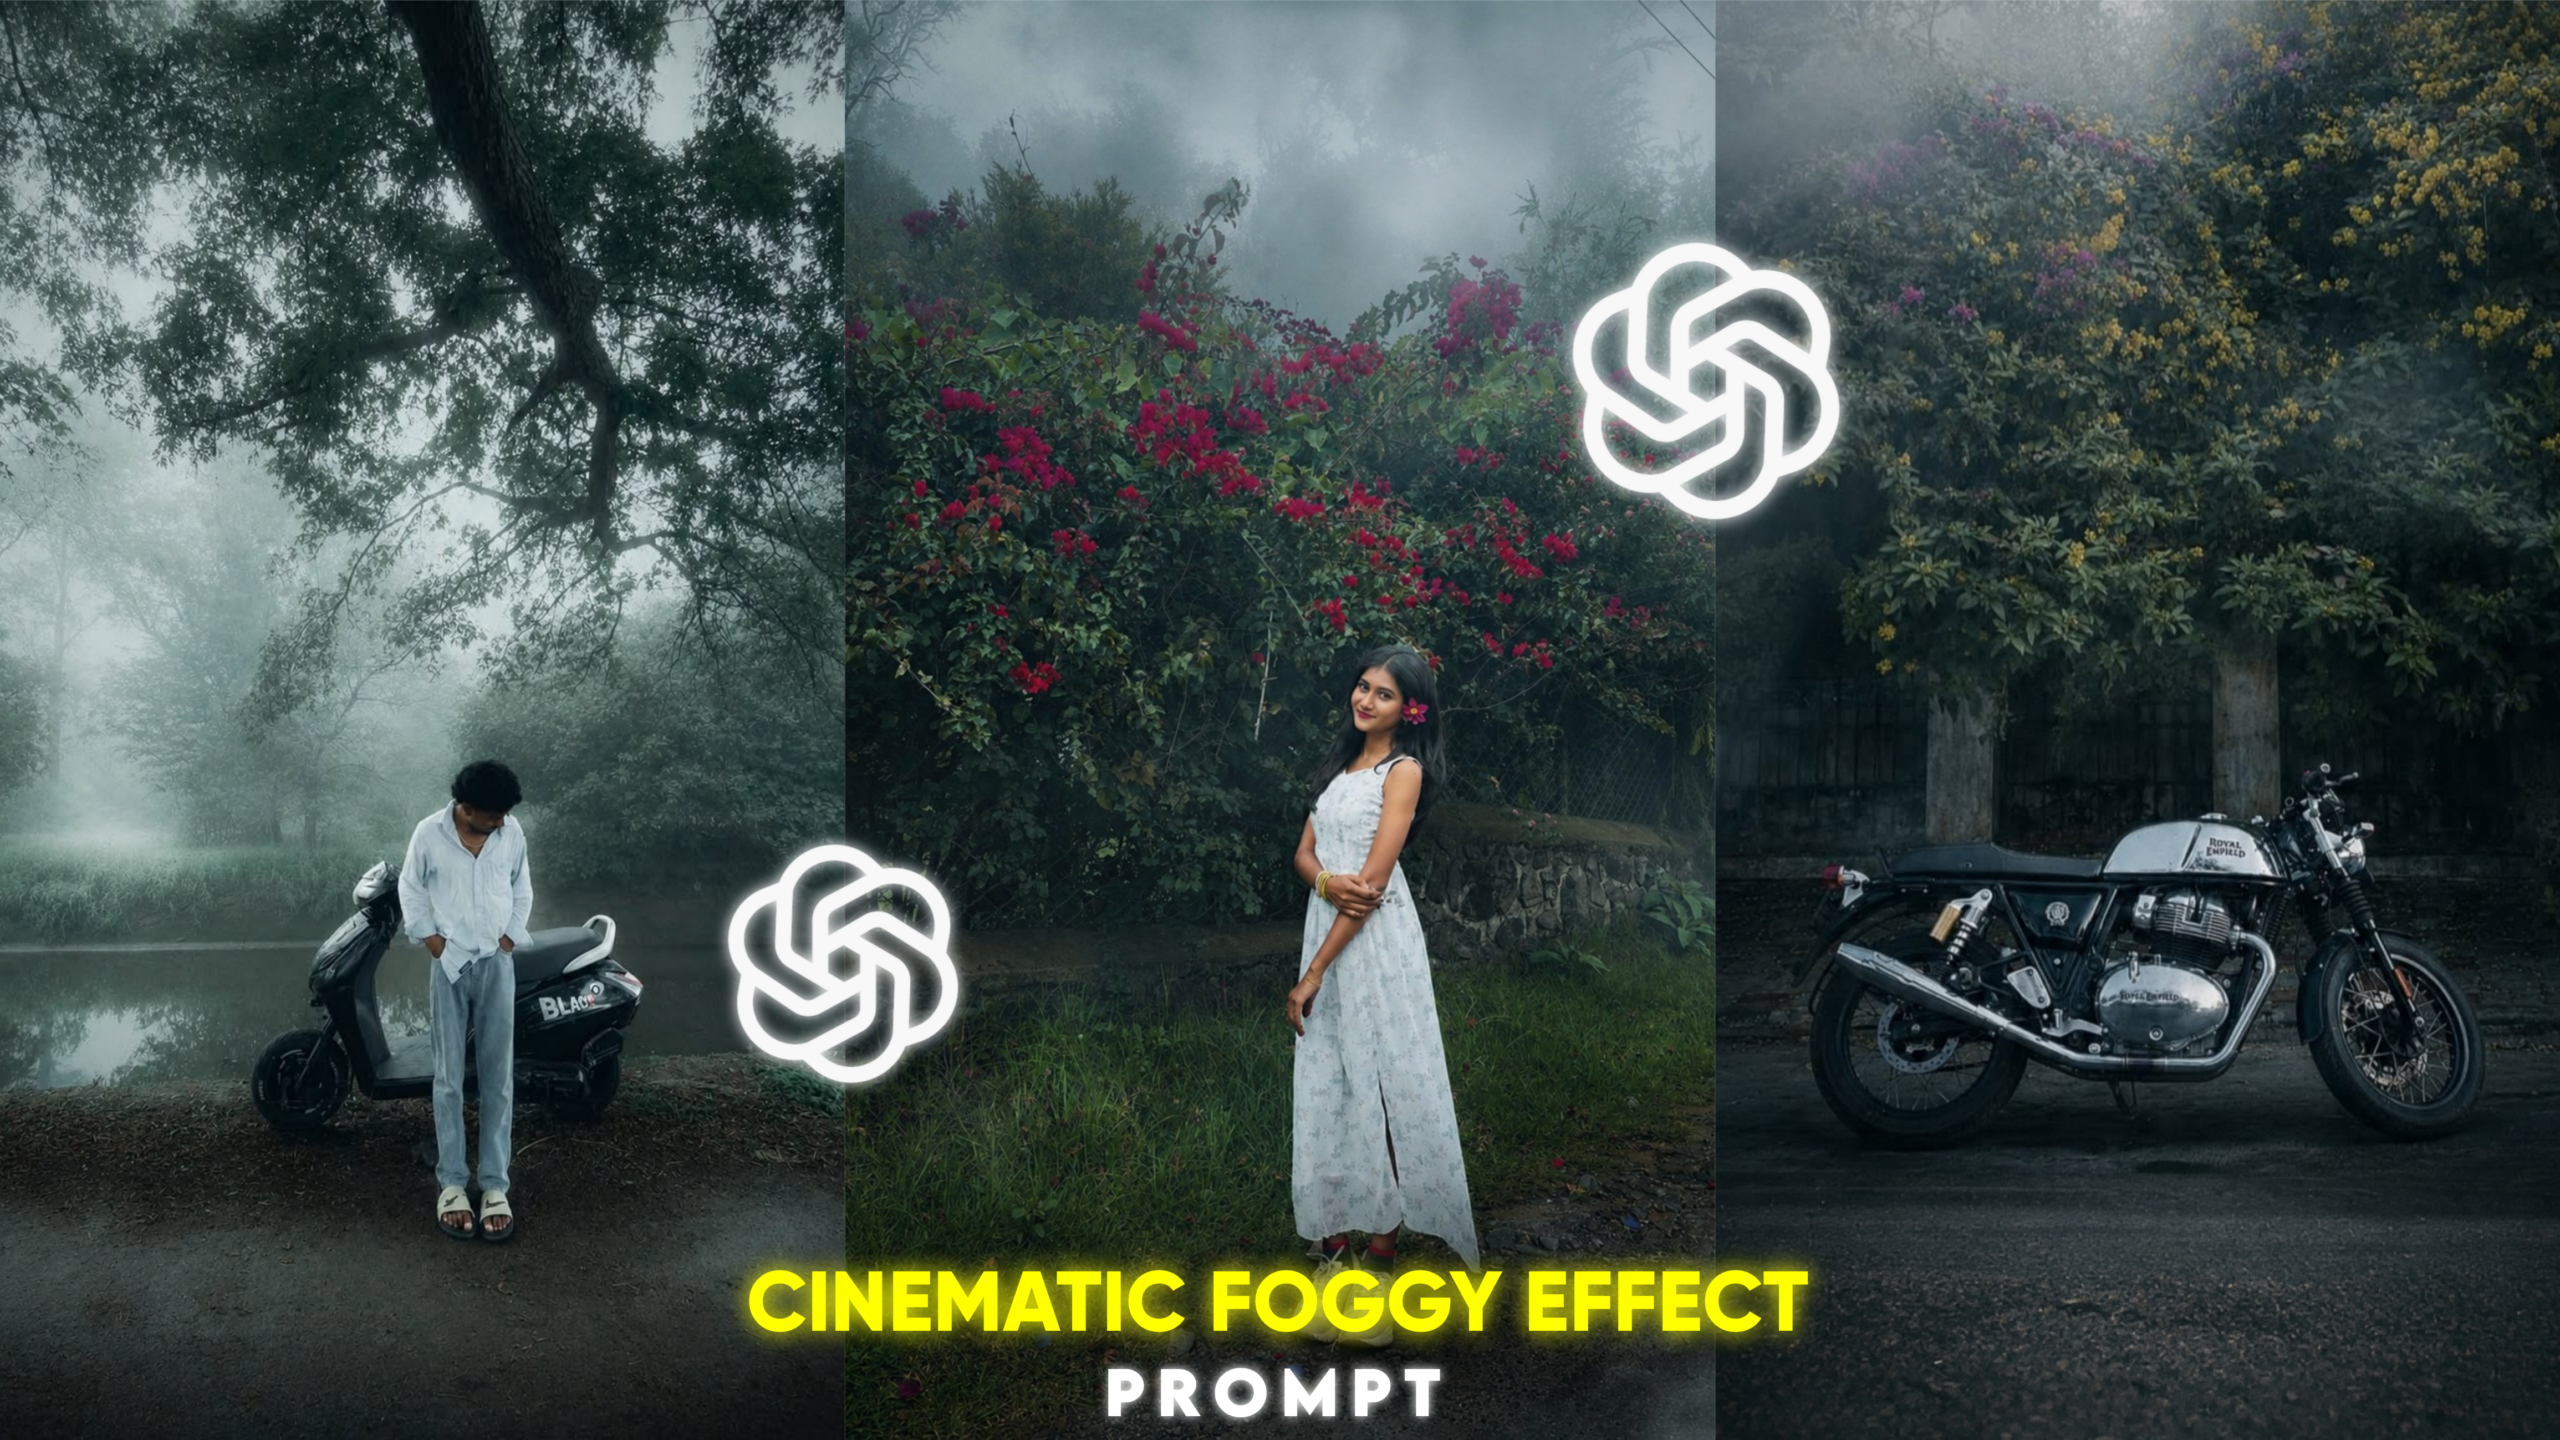
Cinematic Foggy Effect Editing
Friends, photo editing is no longer just a means of creating an image; it has evolved into a creative art form. You have likely noticed the immense importance of photo editing across various social media platforms like Instagram, Facebook, YouTube, and WhatsApp. Nowadays, everyone wants to give their ordinary photos a unique, cinematic look. You may have seen cinematic-toned photos going viral or trending on Instagram, Facebook, and other social media sites. One such popular trend is “Cinematic Foggy Effect Editing.” This style is particularly prevalent on Instagram and is gaining massive popularity. People are increasingly creating photos with this cinematic aesthetic. I have personally edited my own ordinary photos with a cinematic tone and uploaded them to Instagram, receiving a great response. With this editing style, you can transform a standard photo into something mysterious, dreamlike, and cinematic. Since I will be teaching you how to do this using AI, the process won’t be difficult—after all, AI has made photo editing incredibly easy these days. If you read this article carefully from start to finish, you too will be able to transform your ordinary photos into the “Cinematic Foggy Effect” style with just a single click. So, please make sure to read the entire article attentively. Below, I will guide you step-by-step on how to achieve this look using AI. Let’s get started!
What is Cinematic Foggy Effect Editing?
Friends, Cinematic Foggy Effect Editing is a remarkable modern photo editing style that you can achieve with just a single click using AI. Through this editing process, you can transform an ordinary photo into something dreamy, mysterious, and cinematic. Unlike styles that rely on heavy, intense color grading, this method employs soft, subtle color tones that are visually pleasing. You may have noticed that overly intense color grading can make a photo look gaudy or tacky; in contrast, using a soft color tone makes the image look professional and stylish. The standout feature of this editing style is the fog-like effect, which turns an ordinary photo into something truly captivating. Additionally, the cinematic look applied here is soothing to the eye, creating a pleasant viewing experience. I have outlined the key features below:
1. Use of a natural fog effect
2. Application of cinematic color grading
3. Use of dreamy light effects
These features will transform your ordinary photo into one with a distinctive cinematic look.
Here is why this “Cinematic Foggy Effect” editing is currently so popular:
You know that nowadays—especially among Gen Z—everyone wants to present themselves uniquely to the world, and social media has made this incredibly easy. People are constantly creating unique, trending photo edits for themselves. If you use Instagram, you have surely heard the term “asthetic.” Applying this cinematic editing style makes an ordinary photo look truly asthetic—a style that is currently hugely popular. This isn’t just my opinion; it is a proven fact. You’ve likely seen cinematic edits posted as feed posts or stories on platforms like Instagram, Facebook, and WhatsApp going viral and trending, garnering massive amounts of likes and comments. If you apply this cinematic editing style to your own photos, there is a very high chance they could go viral too. Below, I’ll explain how to apply this effect to your ordinary photos. I’ve also provided an AI prompt below that you can use to create this specific edit.
THE PROMPT 👇
Transform this original photo into
 an ultra-realistic cinematic foggy forest
scene while strictly preserving the original
 composition, camera angle, subject's face,
 expression, pose, clothing, and entire
background structure without any changes.
 Do not alter, replace, or beautify the
face or existing objects. Add dense natural
white fog for a mysterious atmosphere.
Apply rich forest color grading with deep
emerald, dark teal, moss green, and earthy
brown tones. Enhance existing surroundings
naturally, add soft volumetric light rays,
atmospheric depth,
 dreamy fog layers, and upgrade to
ultra-sharp 4K HDR DSLR-quality realism.
How to Create a Cinematic Foggy Effect –
To create this edit, first copy the prompt I provided above. Once copied, open any AI application on your device; if you are a desktop user, simply open the corresponding website. I recommend two AI tools—ChatGPT AI and Google Gemini AI—as they are currently very popular for this type of photo editing.
1. ChatGPT AI
2. Google Gemini AI
People frequently use these two AI tools for photo editing because they produce incredibly realistic results. Both tools are available as apps and websites; use the app if you are on mobile, or the website if you are on a desktop.
After opening one of these AI tools, make sure to sign up if you are visiting for the first time. Next, upload the photo you wish to edit. Once uploaded, paste the prompt you copied from my website into the input field where you can interact with the AI. Then, click the “Send” or “Generate” button, and your edited photo will be ready in moments. Review the result; if you like it, click the save option to keep it. If you aren’t satisfied, simply tell the AI you didn’t like it, and it will generate a new version with a different style. By following these simple steps, you can transform an ordinary photo into something extraordinary.
Tips for AI Photo Editing –
Friends, whenever you use AI for photo editing, keep these points in mind to achieve excellent results.
1. Clear Photo –
Always use a clear photo for AI editing—one where your face is clearly visible. This allows the AI to accurately recognize your facial features, leading to much better results.
2. Lighting –
When taking a photo for AI editing, try to shoot in good lighting rather than in the dark; proper lighting ensures a better outcome.
3. Photo Background –
You don’t need to worry about the background. You can simply specify the type of background you want by typing a prompt, and the AI will easily add it to your photo.
4. Face-Changing Issue –
Sometimes, the face changes during AI editing. To prevent this, simply add the phrase “Don’t change my face” at the end of your text prompt. Including this should resolve the issue of your face being altered.
Following these tips will help you get even better results.
Conclusion –
Creating a cinematic foggy effect is not merely a photo editing style; it is a form of creative visual art. Through this technique, you can transform an ordinary photo into something mysterious, dreamlike, and cinematic. Currently, this style of photo editing is going viral on social media, particularly among the youth. You no longer need to perform this editing manually, as AI has made the process incredibly easy. By using the right prompts and clear photos, you can achieve excellent results. So, friends, that is all for today’s article; I hope I have explained everything clearly. Please do let me know in the comments what you thought of today’s photo editing tutorial. See you in the next article!
