
Cinematic Soft Matte Tone Photo Editing
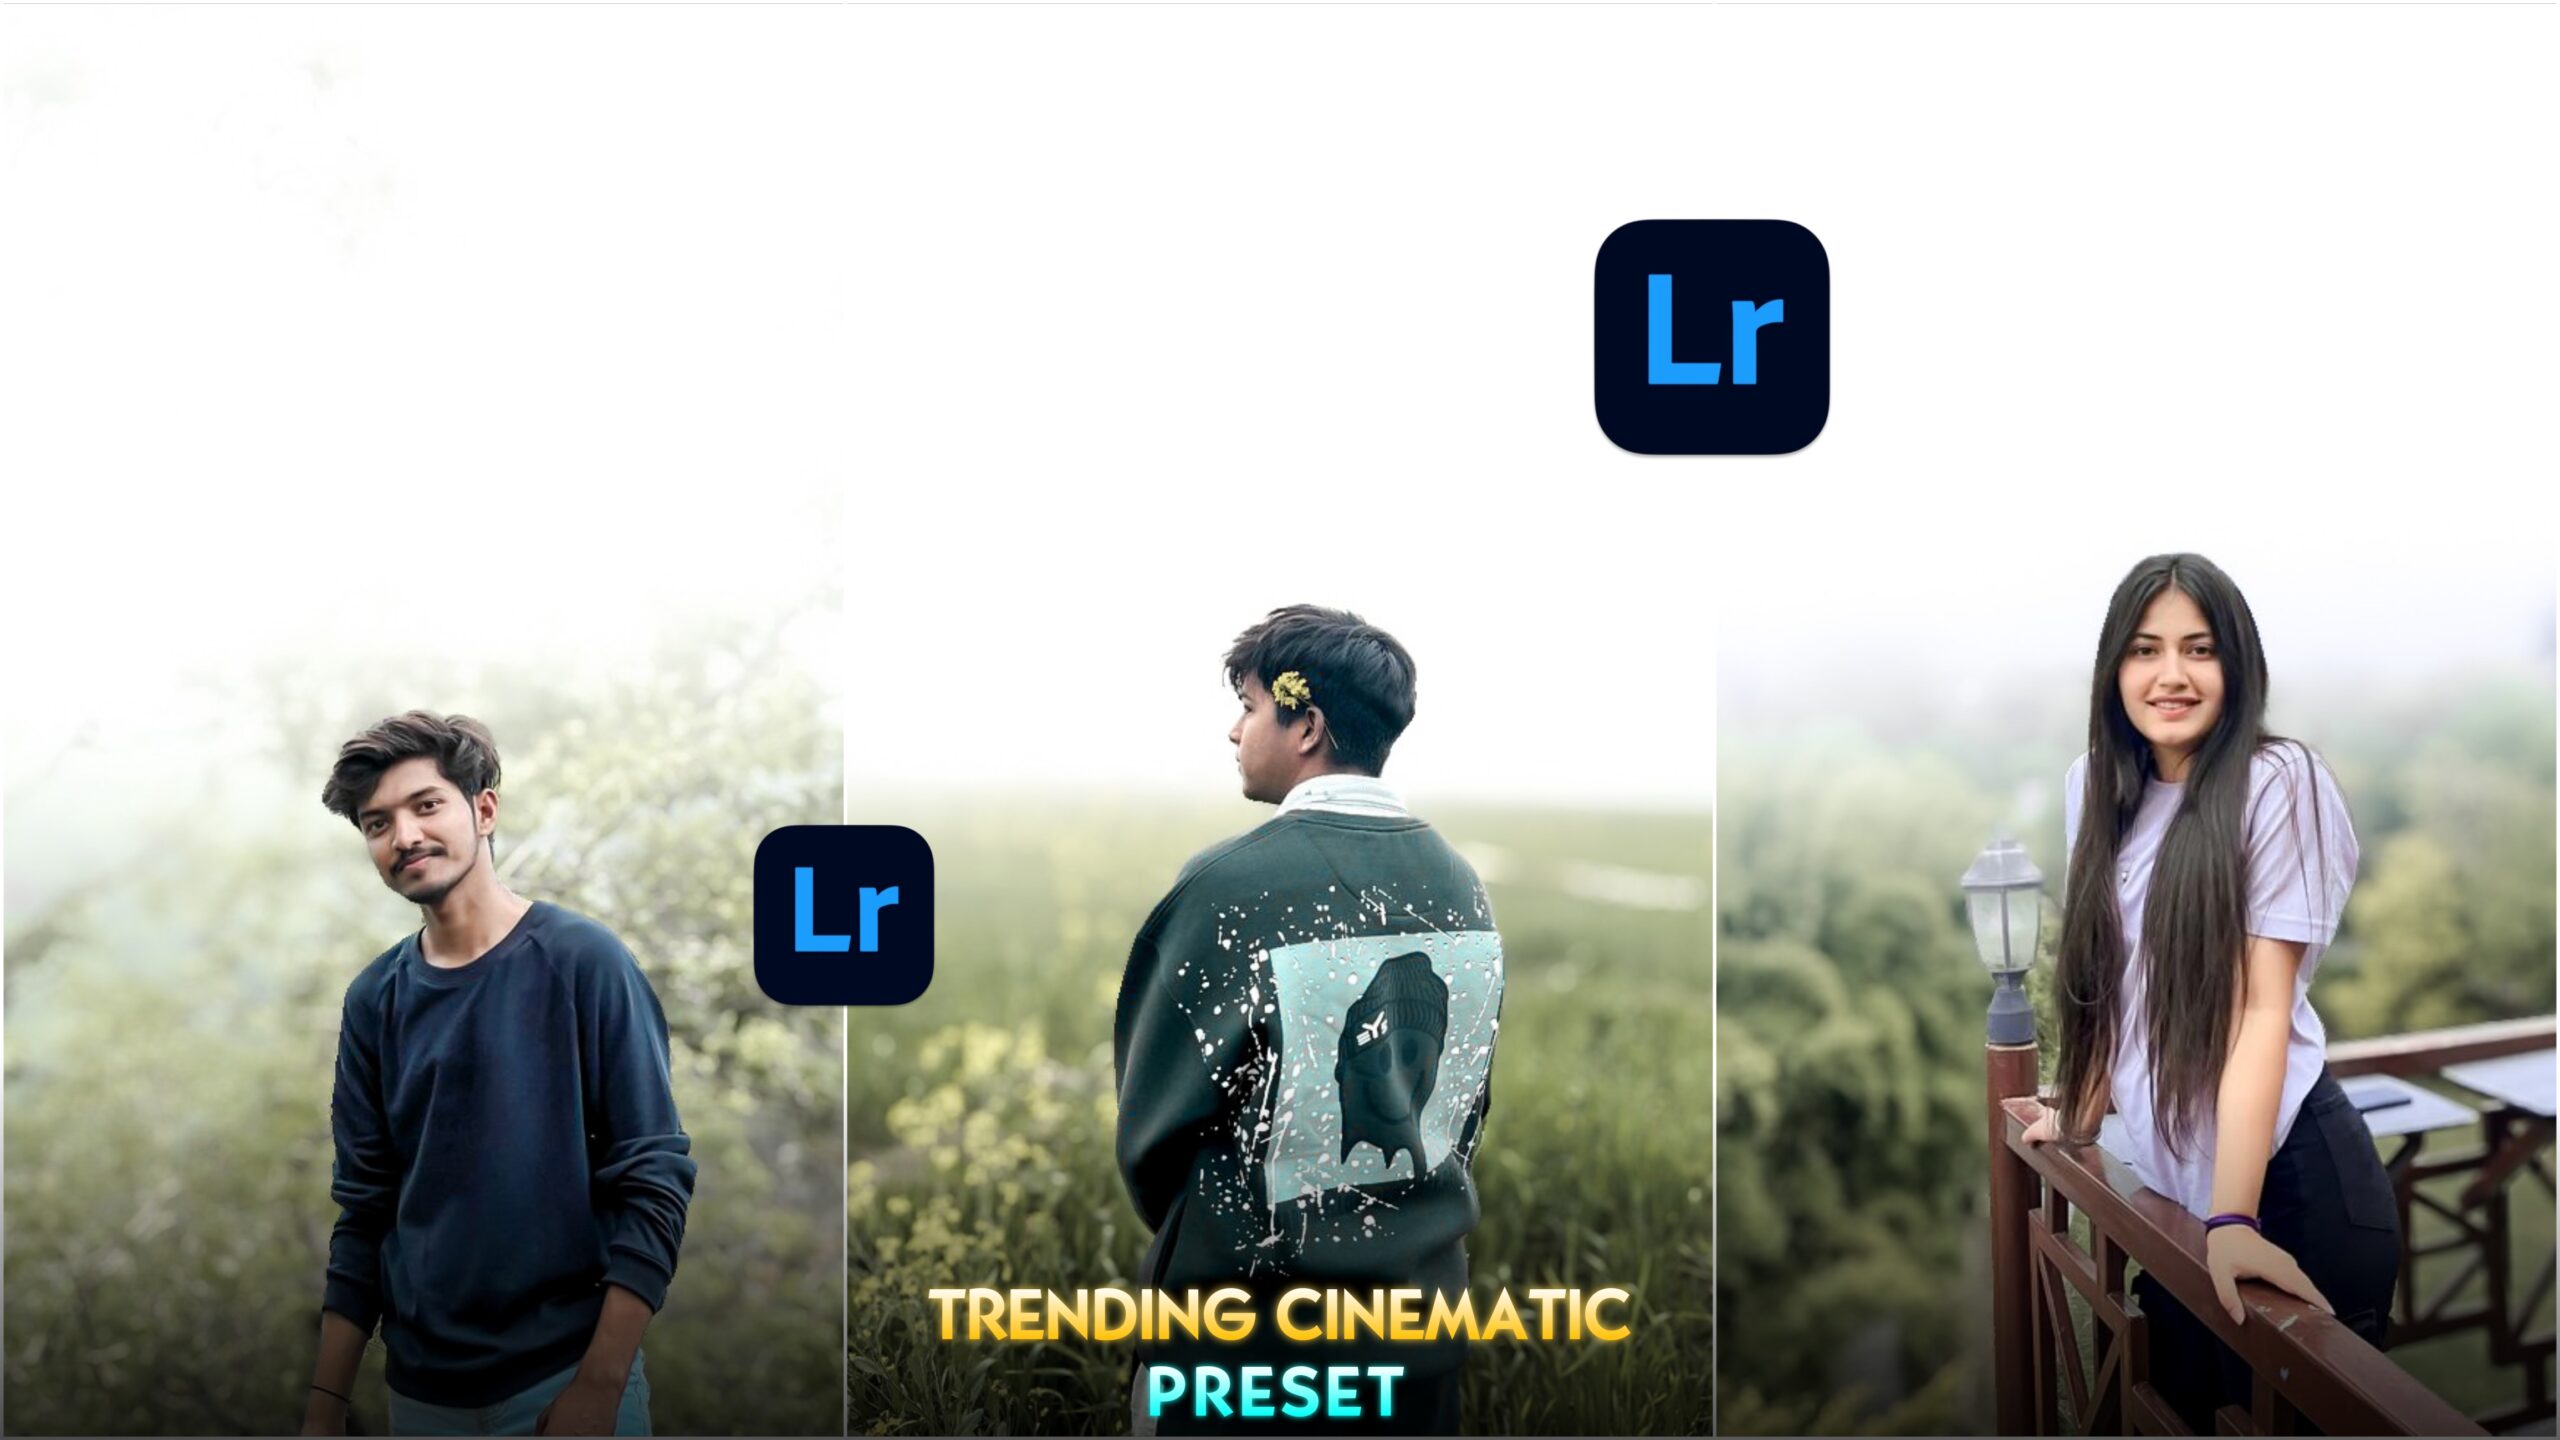
Hello friends, how are you all? I hope you are doing very well. By now, looking at the featured image, you have likely realized what today’s article is about. You know how popular cinematic tone photo editing has become on social media these days. Using cinematic tones can transform an ordinary photo into something that looks professional and premium. These types of cinematic-toned photos are especially popular on platforms like Instagram and Facebook; they are currently going viral and trending heavily. One of the most popular styles within this category is “Cinematic Soft Matte Tone” photo editing. This style involves beautiful color grading, utilizing soft background colors to give the photo a cinematic visual appeal. For this kind of color grading, desktop users typically rely on Photoshop, while the best application for mobile users is Lightroom. In this article, I will focus specifically on how mobile users can create these edits using the Lightroom app; therefore, desktop users might want to skip this one. So, if you are a mobile user who wants to learn “Cinematic Soft Matte Tone” photo editing, please read this article from start to finish—you will certainly master the technique. Let’s get started!
What is Cinematic Soft Matte tone photo editing?
Friends, Cinematic Soft Matte tone photo editing is a modern style that allows you to transform any ordinary photo into one with a professional, premium, cinematic look. This process involves taking an unedited, standard photo and applying a dreamy, cinematic aesthetic. A soft, white, fog-like light effect is added to the background, creating a beautiful, premium cinematic atmosphere; additionally, if there are trees or foliage in the background, this editing style imparts a subtle yellowish hue that looks stunning. The combination of these elements gives the photo a movie-like appearance. I have previously published an article on my website explaining how to edit a standard photo with a cinematic green tone using AI; I have provided the link below so you can check it out if you wish. However, today I will teach you how to achieve this specific editing style *without* using AI, so please read this article carefully to the end.
The Popularity of Cinematic Soft Matte Tone Photo Editing –
Nowadays, creators of all sizes on social media are embracing “Cinematic Soft Matte” tone photo editing. This style is far more professional and captivating than standard editing, effectively grabbing people’s attention. Here are some reasons why this style of photo editing has become so popular:
1. Cinematic Vibe –
These photos typically feature color grading that creates a cinematic tone. They evoke the feeling of a story unfolding within the image, which strongly draws the viewer’s attention.
2. Easy on the Eyes –
Instead of using harsh, highly saturated colors, this style employs soft, pleasing color grading. As a result, viewing these photos for extended periods doesn’t cause eye strain or irritation; they are visually delightful and feel soothing to the eyes.
3. Professional and Premium Look –
This is a highly professional editing style. Applying this cinematic tone to an ordinary photo instantly elevates its appearance, giving it a professional and premium look.
4. Works Well with All Types of Photos –
This cinematic tone adds a beautiful aesthetic to any standard photograph. You can apply it to street, nature, wildlife, or portrait photography—or virtually any other genre—because it complements almost every type of image.
A Complete Guide to Cinematic Soft Matte Tone Photo Editing –
Friends, when attempting this type of cinematic photo editing, try to use a photo where the background is relatively bright; avoid using photos that are too dark. For the best results, you can shoot the photo using a DSLR camera. However, if that isn’t possible, there is no need to worry—you can still achieve a fully professional look. Simply take the photo using your smartphone; make sure to use the rear camera rather than the front-facing one (selfie mode). When shooting, use the “Portrait Mode” on your camera. If your phone doesn’t have Portrait Mode, it doesn’t matter—just take a standard photo. You can then use any AI app to blur the background. To do this, install Gemini AI or ChatGPT AI from the Google Play Store (or the App Store for iPhone users), upload your photo, and type the prompt: “Blur the background of my photo.” Once you click “Generate” or “Send,” the AI will blur the background within a few seconds. I am also providing a ready-to-use Lightroom preset for this Cinematic Soft Matte tone; using it allows you to color-grade your photo with just a single click. Click on the “Download Preset” link located below the sample photo to download it. I will then explain how to use the preset.

Friends, once the preset is downloaded, open the Lightroom app on your phone. Add the preset to Lightroom, and then add the photo you wish to edit. Next, tap on the preset, look for the three-dot icon in the top-right corner, and tap on it. Select the “Copy Settings” option. Then, enable the “Lens Blur” and “Masking” tools and tap the checkmark (or “Done”) button; this will copy the preset’s settings. Now, switch to your own photo, tap the three-dot icon in the top-right corner again, and select “Paste Settings” to apply the preset’s configuration. Your photo will be edited with just a single click. Afterward, you can further adjust the lighting, colors, and other elements to your liking. This is how you can apply cinematic color grading to an ordinary photo.
Overall—
Cinematic Soft Matte photo editing is not merely a style; it is a form of visual art that transforms an ordinary photo into something with a beautiful, professional, premium, and cinematic look. Nowadays, creators of all sizes on social media are producing this type of cinematic edit, which has really captured people’s attention. Those who edit and post such photos are garnering a lot of likes, shares, and comments. If you wish, you too can create this look using a standard smartphone photo and the Lightroom preset I have provided. So, friends, that’s all for today’s article—see you in the next one.
